Blog headers from phone snaps
Rescue dull weather without re-editing in Lightroom for every post.
Describe the polish you want: clearer detail, balanced contrast, less haze.
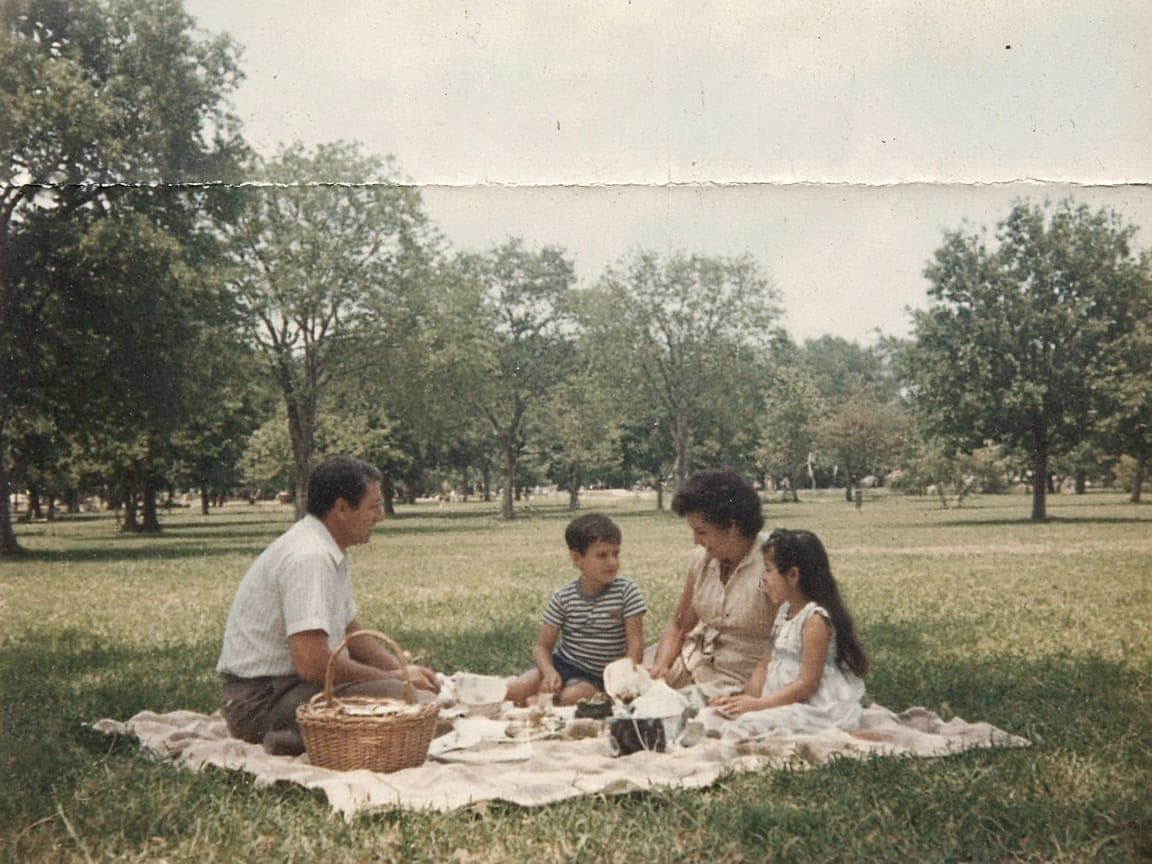
Before
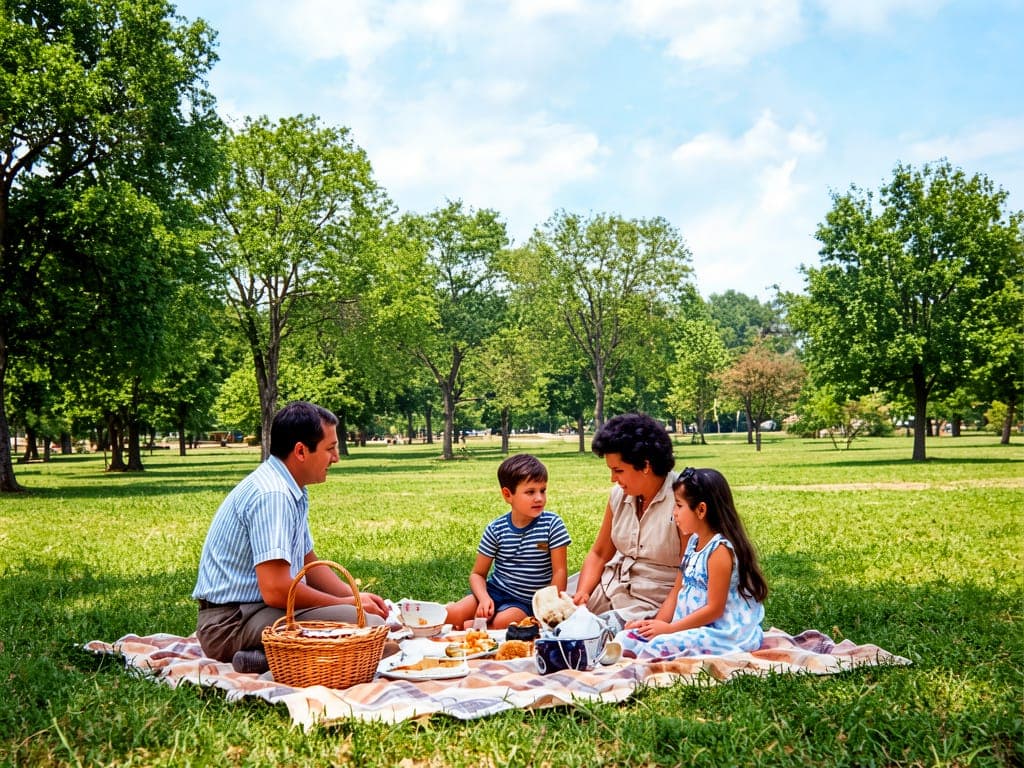
After
An AI photo enhancer improves clarity, contrast, and haze on a photo you already like. It is a polish pass, not a new scene and not a restyle. Use it when the subject and the crop are right and the file looks flat or slightly soft.
It is not sold as a megapixel upscaler. A sharper impression can come from contrast and detail rendering. Heavy motion blur usually stays blurry. Upload a JPEG or PNG; a RAW file should be exported first.
1
Night photos and foggy landscapes are common starting points.
2
Request reduced haze, balanced contrast, and natural color. Remorphy does not market fake 4× resolution upscaling.
3
If faces look waxy, regenerate with 'keep skin texture' added to the prompt.
Rescue dull weather without re-editing in Lightroom for every post.
Make dim interior shots readable before open house weekend.
Tame noise and raise midtone separation when flash was not allowed.
Ask for clarity and natural color, and say not to add sharpening halos. Over-sharp edges are the usual failure.
If you also want oil paint or a new room, that is a different page. Mixing both makes the polish harder to judge.
Enhancement cannot invent detail a tiny crop never captured.
Motion blur, missed focus, and heavy noise do not become a sharp original. Faces can look waxy if the prompt only says “enhance.” Add “keep natural skin.”
You will not get a higher-resolution master for large-format print just by running this once. Treat the result as a cleaner version of the same picture.
One softness test can be one signed-out Fast edit after a human check. Then 5 credits once you create an account. Free downloads are watermarked after your first 2 images.
Comparing Fast with a paid quality tier spends more than one credit on higher models. Paid plans start at $19 a month for 20 products (100 credits), download without the watermark, unlock Balanced and High Quality, and join the priority queue. A run that fails or returns no image refunds its credit.
Enhancement assumes the photo is intact and a bit dull. Restoration assumes damage. A raw converter is the right first step when you still have the camera file.
| Tool | Start from | Stop when |
|---|---|---|
| This enhancer | A flat or slightly soft JPEG | You need a new scene |
| AI Photo Restoration | Fade, creases, or stains | The print is actually clean |
| Your raw software | The original camera file | You only have a screenshot |
Reduce atmospheric haze, deepen sky, keep horizon straight.
Increase local contrast on food, warm tones, no oversaturation.
Correct yellow indoor lighting to neutral white balance.
Gentle clarity on eyes, keep skin pores, reduce noise.
Lift shadow detail in trees, preserve highlight clouds.
We describe clarity and tone work, not proprietary super-resolution engines.
Run restoration for damage, then enhance for punch—or combine asks in one careful prompt.
Enhancements use the same per-model credit rules as any other edit.
It can look sharper through contrast and detail rendering, but it is not sold as a megapixel upscaler.
Heavy blur rarely recovers. Mild softness sometimes improves.
Upload JPEG or PNG exports; RAW uploads depend on browser support but JPEG is safest.
One Klein-model try without an account after a human check, then credits from sign-up.
It can lift contrast and calm a cast. Say “keep colors natural” if the grade should stay close to the upload.
Prefer two runs. Clarity first or removal first, so you can tell which instruction caused a problem.
Not the first ones. Your first 2 enhanced photos download without a watermark, signed in or not. After that, free downloads carry a small Remorphy watermark; a paid plan or the one-time pack removes it.
Back to AI Product Photos — Turn One Photo Into a Full Listing Set